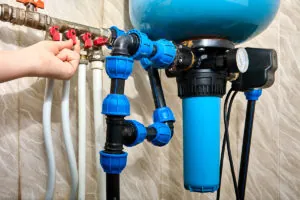
A leaking kitchen tap handle can be a frustrating problem that not only wastes water but also adds to your water bill. According to water conservation research, a tap leaking at a rate of one drip per second can waste over 13,000 litres of water in a year. Fortunately, fixing a leaky tap handle is a relatively straightforward task that you can tackle on your own. Follow these handy steps to identify the issue and learn how to fix a kitchen tap leaking from the handle.
Understanding your kitchen tap type
Kitchen taps come in four main types: cartridge, ball, ceramic disc, and compression. Identifying your tap type ensures you buy the right replacement parts.
- Cartridge tap: Usually has a single lever that feels smooth to lift up and down. The cartridge is a small, replaceable cylinder inside.
- Ball tap: A single lever that moves over a rounded cap. It operates using a slotted metal ball inside the tap body.
- Ceramic disc tap: A single-lever tap, often a bit heavier, with a wide cylindrical body. It uses two durable ceramic discs that rarely need replacing.
- Compression tap: The classic two-handle model. It works by using a rubber washer to compress against a valve seat, which is why you have to tighten it to stop the flow.
Why do tap handles leak?
Tap handles leak for several common reasons:
- Cartridge issues: Internal cartridge wears out over time
- Buildup and corrosion: Mineral deposits accumulate in handle components
- Damaged seals: Worn gaskets allow water seepage around the handle
- High water pressure: Excessive pressure causes handle leaks
- Ageing hardware: Older taps experience general wear and tear
What you’ll need to fix leaky tap handles
On average, it may take around 30 minutes to an hour to fix a leaky tap handle.
Before proceeding with the tap repair, you’ll need to assess the situation by taking the sink apart to determine which parts need replacement. Make sure you have these tools in your handy toolbox before you get started:
- Adjustable spanner
- Phillips and flat-head screwdrivers
- Allen/hex key set
- Pliers
- Lubricant (such as silicone grease)
In addition, here are the replacement parts you might need:
- Replacement cartridge: £10–£30 depending on tap model
- Seals and gaskets: £5–£15 for preventing leaks
- O-rings: £2–£5 for worn seals
- Silicone lubricant: £5–£10 for smooth operation
The cost of fixing a leaky tap handle can vary based on whether you choose to do it yourself or hire a skilled person, which could cost anywhere from £100–£300, depending on the complexity of the issue and their rates. Prices will vary depending on your location across the UK.
Steps for fixing a leaky tap handle
By preparing ahead of time and knowing what costs you might run up, you can confidently tackle the repair and kitchen tap handle leak.
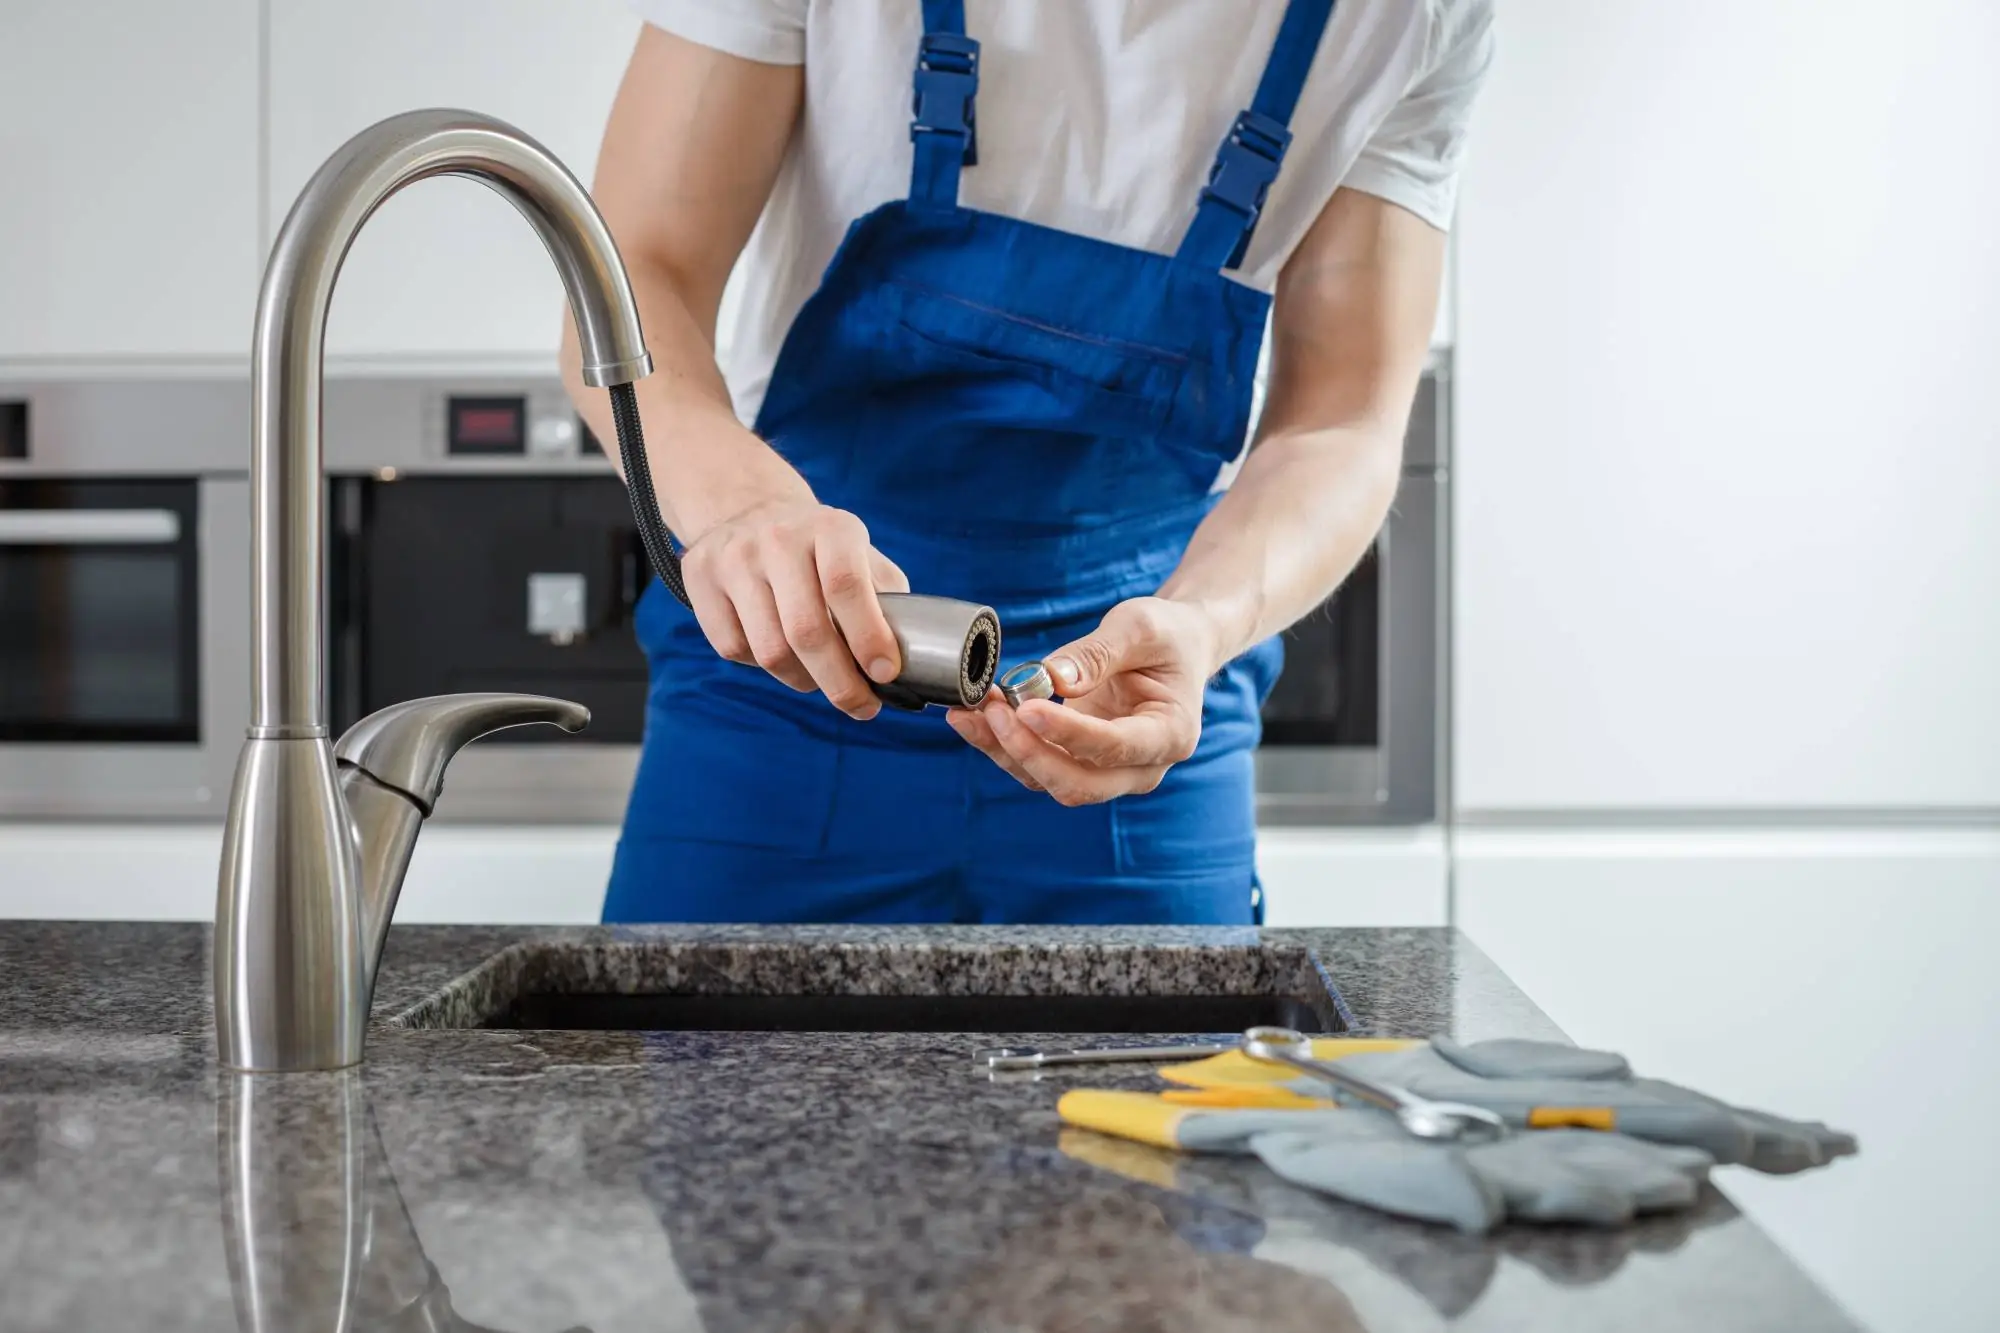
- Turn off water supply: Shut off the water supply to the tap by turning the isolation valves under the sink.
- Disassemble the handle: Remove the decorative cap on the handle (if present) and use an Allen/hex key to take off the handle.
- Inspect the cartridge: Examine the cartridge for any signs of damage or wear. If it’s faulty, replace it with a new one.
- Check seals and gaskets: Inspect the seals and gaskets for any cracks or deterioration. Replace them if needed.
- Clean components: Remove mineral buildup and debris from the cartridge, handle, and other components using a mild cleaning solution.
- Lubricate moving parts: Apply silicone grease to the cartridge and other moving parts to ensure smooth operation.
- Reassemble the tap: Put the tap handle back together.
- Turn on water supply: Turn the water supply back on and check for any leaks. If the leak continues, recheck the parts to make sure they’re properly installed.
How to prevent tap handles from leaking
Prevention is key to avoiding future tap handle leaks! Take these steps to avoid preventable problems:
Water softener
Install a water softener if your area has hard water. This is a particularly common issue across much of southern England and the Midlands. Soft water reduces mineral buildup, which can extend the lifespan of taps.
Regular maintenance
Periodically inspect your tap handles for any signs of wear and tear. Replace washers, O-rings, and seals as needed.
Regulate water pressure
Consider installing a pressure regulator to control water pressure, preventing excessive stress on tap parts.
By following these steps and tips, you can fix a leaking kitchen tap handle and ensure it operates smoothly, saving water and avoiding unnecessary expenses. Remember, regular maintenance and care can extend the life of your kitchen tap and keep leaks at bay.
When to call a Tasker for tap repairs
There’s satisfaction in fixing something yourself, but wisdom in knowing when to get help. If the drip persists after following these steps, it’s time to call for backup.
Here are clear signs you should contact a skilled Tasker:
- Multiple failed attempts: You’ve tried the repair twice with no success
- Water damage risk: You’re concerned about causing a flood
- Missing tools: You don’t have the right equipment
- Time constraints: You need it fixed quickly
Book trusted help for home tasks and solve the problem without sacrificing your weekend.
Frequently asked questions about fixing leaky kitchen taps
Can you fix a leaky tap yourself?
Yes, most tap leaks from worn O-rings or cartridges are DIY-friendly. Get help if the repair becomes complex.
What type of tap do I have?
Check the handle: two handles = compression tap, single lever = ball, cartridge, or ceramic disc type.
Why is my tap dripping after I turn off the water?
A dripping tap after shutoff indicates worn internal parts like washers or seals that need replacement.
How much does it cost to fix a leaky tap?
DIY repairs cost £5–£30 in parts, while hiring a Tasker is more affordable than emergency plumber rates.