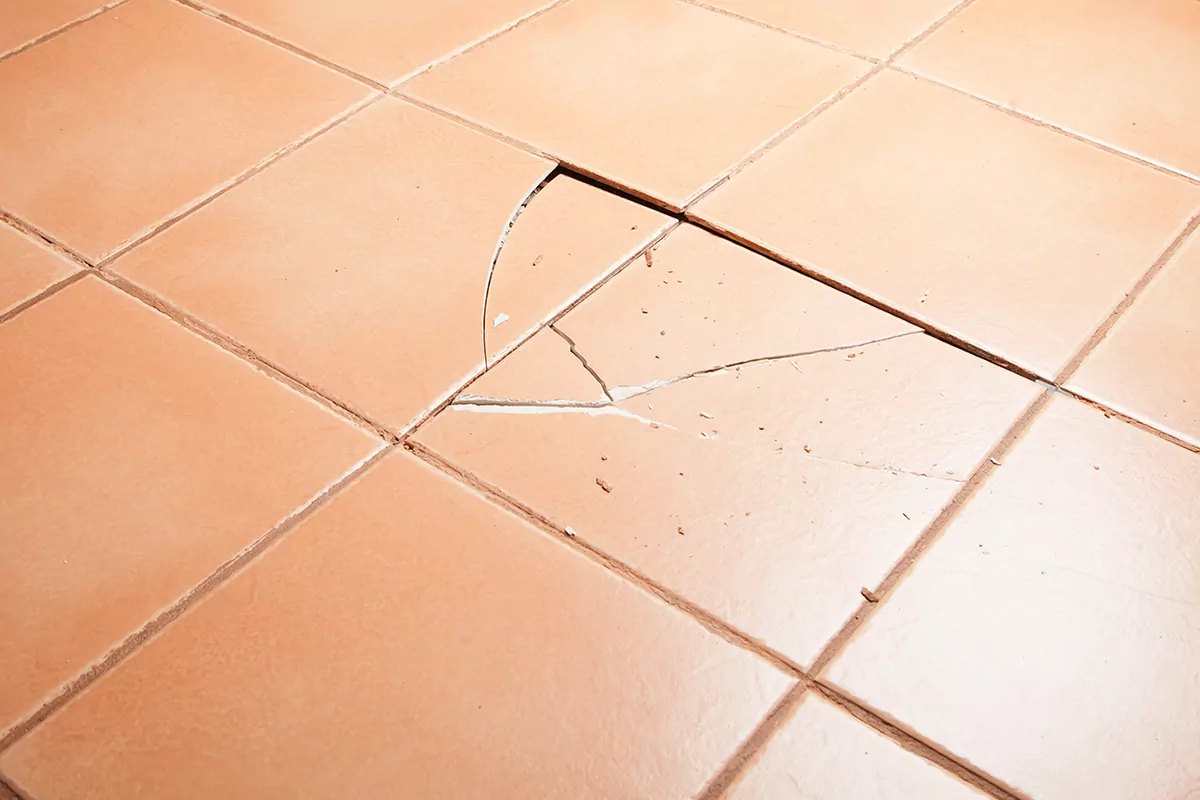
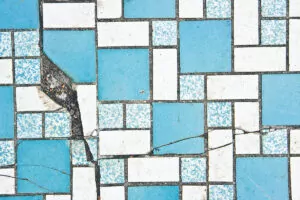
If you have a cracked or chipped tile in your home, then repairing it might be easier than you think. Before you consider buying a replacement, read our handy guide for how to repair cracked, damaged or chipped floor tiles.
Time required: around 1 hour depending on drying time
Difficulty level: easy
Cost: £10 – £30
Tools required
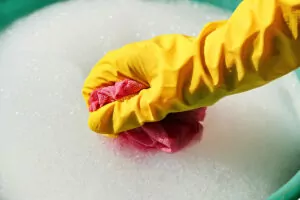
- White spirit or washing up liquid
- Cleaning cloth
- Clear epoxy glue
- Lollipop stick
- Small piece of cardboard
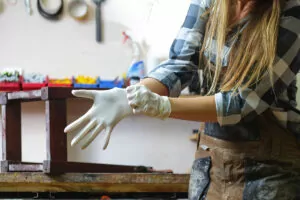
- Protective gloves and face mask
- Oil-based paint to match the colour of your tile
- Small paint brush
- Floor sealer
Safety considerations
Make sure to avoid walking over or applying pressure to the broken tile and keep bare feet and pet paws well away to avoid any injuries.
Wear personal protective equipment at all times during the task and keep the room ventilated, as epoxy can irritate skin and the respiratory system.
Step-by-step guide for repairing cracked tile

Step 1. Remove any debris
Start by cleaning the tile and surrounding area. Scrub away any dirt or debris with warm, soapy water or some white spirit.
Wipe away any excess and make sure the area is completely dry before moving onto the next step.
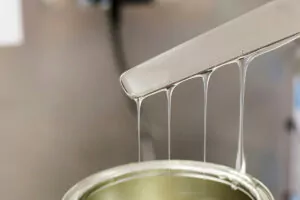
Step 2. Mix your epoxy
Wearing your gloves and facemask, mix both parts of the epoxy together on some cardboard, following the instructions on the product. Use your lollipop stick as the mixer.
Step 3. Fill in the crack
Now your epoxy is mixed together, fill the crack in the tile by applying a thin coat of the glue using your lollipop stick. You’ll need to be as precise as possible here, spreading the epoxy no more than 2-3 mm outside of the crack and making sure to avoid the grout. Wipe away any excess with your glove or an old cloth.
Wait for the epoxy to dry, this should take around 15-30 minutes.
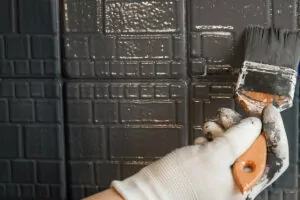
Step 4. Paint over the epoxy
Now the epoxy has hardened, it’s time to paint over it so the section you have repaired blends in with the rest of the tile. You will need to use oil based paint that matches the colour of your tile.
Using your paint brush, neatly apply a small amount of paint over the epoxy.
Wait for the paint to dry. This may take a few hours.
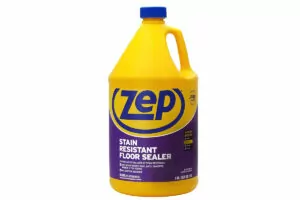
Step 5. Seal in the paint
Once the paint is dry, you can also apply a coat of floor sealer to protect the tile from future damage.
How to fix cracked grout
Step 1. Prep the area
Start by wiping away any dirt or loose grout with warm, soapy water. Make sure the grout has dried before moving onto the next step.
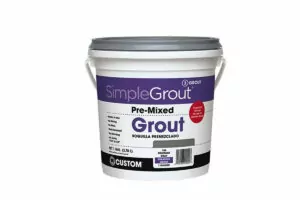
Step 2. Mix the grout
Mix up a small amount of grout following the instructions on the product. Grout costs around £10 and is available in various different colours from DIY stores.
Step 3. Apply the new grout
Wearing protective gloves, use your finger to apply a small amount of grout over the crack. You could also use a lollipop stick or toothpick if the crack is very small.
Step 4. Remove excess grout
Use a damp cloth to wipe away any excess grout and warm, soapy water to remove any from surrounding tiles.
Cost to replace tile vs repair tile
As you can see, repairing cracked tile is quick, simple and fairly low cost.
If you were to replace the tile completely, you will need to purchase a new tile and hire a professional to fit it for you.
Depending on the tile, you can pay anywhere from £2 – £20 for the tile, then around 1-2 hours of a professional’s time to remove the old tile and replace it with the new one.
Need help repairing or replacing a cracked tile? Hire an experienced Tasker today.